
Page 82 - cloudComputing-En-V3
P. 82
c. Before starting, give your project a name by clicking on the text
space designated for that, as in Figure 96 at the top of the page,
and then press Enter to save.
Figure 96: Renaming the presentation file.
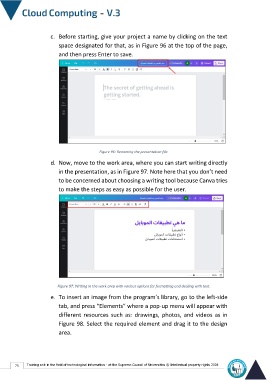
d. Now, move to the work area, where you can start writing directly
in the presentation, as in Figure 97. Note here that you don’t need
to be concerned about choosing a writing tool because Canva tries
to make the steps as easy as possible for the user.
Figure 97: Writing in the work area with various options for formatting and dealing with text.
e. To insert an image from the program’s library, go to the left-side
tab, and press “Elements” where a pop-up menu will appear with
different resources such as: drawings, photos, and videos as in
Figure 98. Select the required element and drag it to the design
area.
75 Training unit in the field of technological information - at the Supreme Council of Universities © Intellectual property rights 2024